
Sell, license, and distribute your PHP package
Learn how to configure your private composer packages' billing, licensing, and distribution.
This guide will take a step-by-step approach to configuring billing, licensing, and distribution for your PHP composer packages via a private repository.
Create your product
Let's start by creating your product. From your dashboard, click on "Add Product." Next, fill in the form with the following information:

-
Name
This is the name displayed throughout Anystack (including publicly accessible pages if applicable). You can modify this later. -
Identifier
The identifier is a unique identifier for your product, and this identifier is unique across all products managed via Anystack. Anystack will use your product identifier to generate your product's public-facing URLs. You cannot change the product identifier afterward. -
Product Type
In this guide, we will select PHP as the product type. Choosing the appropriate product type will ensure we can use all the features Anystack provides for PHP packages.
You can choose to configure your first licensing policy and distribution now or later. Let's keep these options enabled and continue to the next step.

Before creating a new license, a licensing policy must be available. A policy is a set of rules that applies to a license. For example, the duration a license is valid or how many times a customer can use a license. Let's take a look at the available policy options:
-
Name
The name of your policy. We recommend picking a name that describes your policy. For example, "1 Year", "Unlimited", "Basic", "Pro", etc. -
Duration / Expiration
If you want your licenses to expire, you can set the expiration date. When a license is created, it will inherit the policy's expiration date. -
Expiration consequence
You have the option to set a consequence when a license expires. By default, the consequence is to "Revoke access" upon expiration. Alternatively, you can select the consequence "Restrict access":-
Revoke Access
Upon expiration, revoke all access. - Restrict Access
Upon expiration, access is restricted to the latest release that was available up until the license expiry date. This is common if you have a product that can always be used, but your customers must renew their license to receive updates.
-
Revoke Access
-
Activations
By default, activating a license is not required before a customer can use it. However, you can enable this option if you want to keep track of your license usage across multiple domains, applications, etc. You can also restrict the number of activations. An everyday use case for this is restricting your customer to using your product on only two computers at a time. -
Release constraints
You can use a release constraint to restrict license access to a major, minor and/or specific release. Click here to learn more.
Anystack makes distribution a joy by integrating with your existing stack. Connect your GitHub account, connect your private GitHub repositories, and create a new release, and that's it. Anystack will automatically import the files from your private repositories, and make these private packages available for distribution to your customers.
Let's connect our GitHub account and select the repository that holds our private package:

-
Account
You can connect one or more of your GitHub accounts to Anystack and set granular permissions for each account. -
Repository
You can select the repository that holds your PHP package from the list of repositories you granted Anystack access. -
Distribution Integration
Anystack provides you with a list of available distribution integrations for each product type. Anystack offers a plug & play integration with Composer, PHP's package manager for PHP. -
Auto Publish
When you enable the auto-publish option, Anystack will automatically publish your package when you publish a new release on GitHub. -
Public Downloads Page
Anystack can host a public download page for your product that will allow your customers to download your product manually in case someone doesn't use Composer, for example.
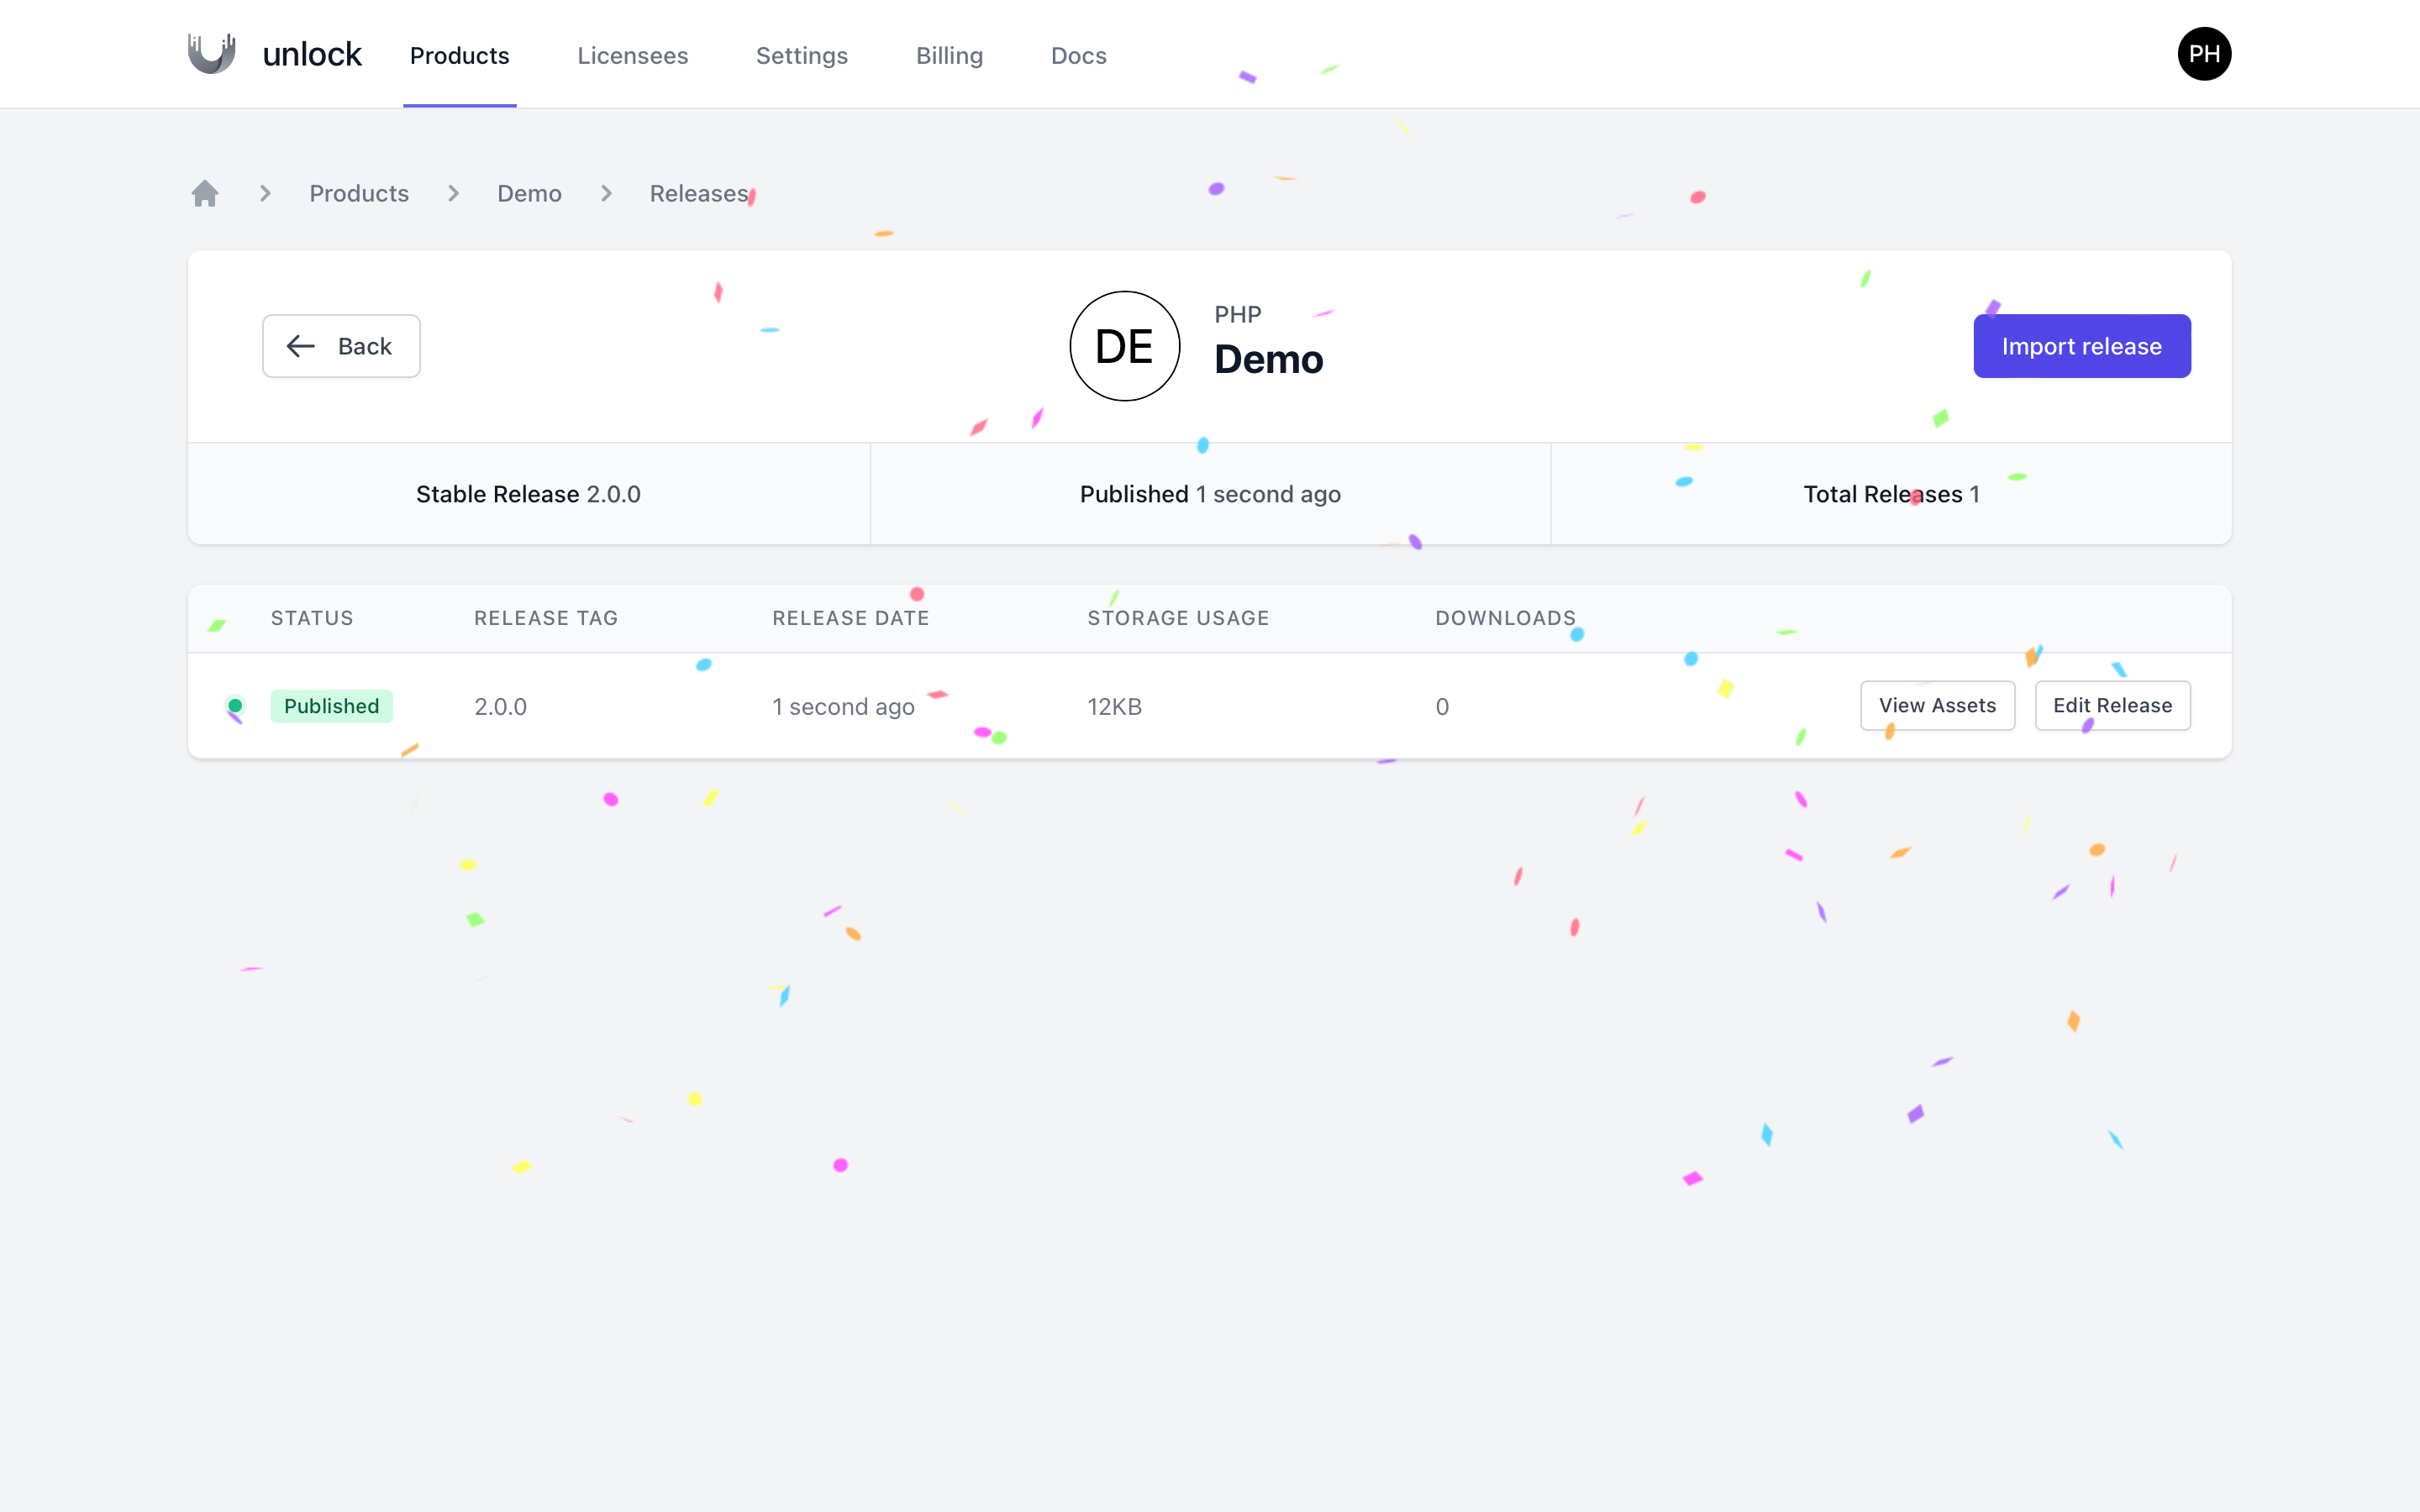
Creating your first release
Now that your product has been set up, we can create our first release. Ensure the root of your repository contains a valid composer.json.
There are several ways to do this:
-
Import an existing release from GitHub
You can click the "Import release" button from the release overview to import an existing release from GitHub.
-
Create a new release via GitHub
Visit your repository on GitHub and choose "Releases" on the right side. Next, click "Draft a new release." Create a tag like "1.0.0" and additional details about your release. If you decide to attach a file of your own (e.g., a custom distribution build) Anystack will use this instead of the source code.
-
Use a GitHub actions workflow to publish a release automatically
You can use a GitHub actions workflow to publish a release automatically when you publish a new tag. We will use this approach in our example below.
-
Use a GitHub actions workflow to build a distribution version of your package
In some cases, you might want to create a special distribution build, for example, with compiled CSS and Javascript. Anystack will choose a custom file instead of the source code if it detects a build file -- More on this below.
In this example, we will use a GitHub action workflow to automatically create a release every time a new tag is
created. Optionally, you can create a custom distribution build as shown in the .github/workflows/release.yml
file below as option 2.
1name: Build release 2 3# Run this workflow when a tag is published that follows the semantic versioning schema. 4on: 5 push: 6 tags: 7 - "*.*.*" 8 9jobs:10 11 # ---------------------------------------------------------------------------12 # Option 113 # The following example will show you how to create a release with just14 # the source code from your repository15 # ---------------------------------------------------------------------------16 17 build:18 runs-on: ubuntu-latest19 steps:20 21 # Create a new release and use the source code from the tag for this release22 - name: Release and publish release23 uses: softprops/action-gh-release@v124 25 # That's it! All done 🚀26 27 # ---------------------------------------------------------------------------28 # Option 229 # The following example will show you how to create a custom distribution30 # build of your package31 # ---------------------------------------------------------------------------32 33 build:34 runs-on: ubuntu-latest35 steps:36 37 # Checkout the code of this repository38 - name: Checkout39 uses: actions/checkout@v240 41 # Setup PHP 8.042 - name: Setup PHP43 uses: shivammathur/setup-php@master44 with:45 php-version: 8.046 47 # Install the composer dependencies48 - name: Install Dependencies49 run: composer install -q --no-ansi --no-interaction --no-scripts --no-suggest --no-progress --prefer-dist50 51 # Create a zip archive of all the files and exclude certain files from the archieve52 - name: Create release archive53 uses: thedoctor0/zip-release@master54 with:55 type: 'zip'56 filename: 'release.zip'57 exclusions: '*.git* /*node_modules/* .editorconfig'58 59 # Create a new release and include the build artifact from the previous step60 - name: Release and publish release61 uses: softprops/action-gh-release@v162 with:63 files: release.zipPublish a new tag, and you will see a new release created automatically and show up on your dashboard in a matter of seconds.
Configure billing and start selling
Perfect! We have our licensing policy set up; our release has been imported and published. Let's continue by setting up billing so we can sell our package. Choose billing from your product navigation.

Anystack partners with Stripe to provide the best checkout experience there is. Click "Start Selling" to start the onboarding process with Stripe. Once you're done, you can configure the billing settings for your product.

From the billing page, you can enable billing for your product, create pricing packages, enable tax collection, manage license settings and upload an image that Anystack will show during checkout. Let's continue by creating our first pricing package.

-
Name
The name of the package will be shown on the checkout page. -
Policy
The license policy to use to generate a license on a successful purchase. -
Description
A short description of the package will be shown on the checkout page. -
Price
The price for this package, excluding any taxes. -
Renewal Price
If you set a renewal price, you can discount customers who renew their licenses. -
Currency
The currency to be used for this package. -
Type
The type of charge to be used for this package. You can choose one-time charges or recurring charges (coming soon).
There are a few more additional settings you can configure regarding billing. Let's take a look.

License settings
When a customer purchases your product, Anystack will generate a license key for your customer. The license key is the personal access token to authorize access to the private repository. If your policy requires a fingerprint (activation), the following options can be configured to allow the customer to activate or revoke their license themselves.
-
Fingerprint label
The term "fingerprint" is used by Anystack to define a unique identifier for a license activation. This term might be confusing to some customers, so we have provided the option to specify a custom label. This way, you can replace the term fingerprint with something more relevant for your users, like domain or app name, for example. -
Activation Permissions: Activate
When you enable the 'activate' option, customers can activate their license themselves after their purchase. -
Activation Permissions: Revoke
When you enable the 'revoke' option, customers can revoke a license activation themselves, for example, if they want to use their license for a different device or domain.

Branding settings
On the purchase page, we will show the image you upload. You could use this to upload a screenshot of your application, for example:

That's it; you are all set and ready to sell your private PHP package. Anystack will show your customers the installation instructions on adding your private composer repository and requiring your private PHP package.

Frequently asked questions
-
How do I create a private Composer package?
The easiest way to start is by installing the Composer CLI. Next, run the following command:composer init- this command will prompt all the necessary questions to generate a valid composer json file. -
Do my customers need SSH keys to authenticate?
Your customers do not need SSH keys to authenticate. Anystack's private Composer repository useshttp-basicauthentication. The username is equal to the contact's email, and the password is equal to the license key. If the license is not associated with any contact, the username isunlock. -
Do I need Satis?
You do not need Satis as Anystack provides a managed private Composer repository for your projects which fully integrates with GitHub.